Complete Guide to Papercut Art & Papercutting: Tools, Techniques & Tips
Papercut art is a captivating craft that turns simple sheets of paper into intricate and delicate designs. Whether you’re a beginner or looking to deepen your skills, understanding the right tools, papers, and techniques makes all the difference. This guide answers common questions about papercutting, from its rich history to creative styles and practical tips. Dive in and discover how this timeless art form can spark your creativity and bring beautiful, handcrafted pieces to life.

1. What is papercut art?
Papercut art is all about creating beautiful images by carefully cutting shapes from paper. This art form has roots in many cultures, from Chinese to Mexican traditions, each bringing their own style and stories. Whether it’s symmetrical patterns, detailed scenes, or abstract designs, papercutting is about patience, precision, and creativity. You can display these works on their own, use them in cards, or layer them for extra effect. Though it uses simple materials, the results can be incredibly intricate and expressive.
2. What tools do I need to start papercutting?
To get started, you’ll need some basic tools: a sharp craft knife or scalpel with replaceable blades, a self-healing cutting mat to protect your surfaces, and good-quality paper around 120-160gsm thick. A metal ruler helps with straight cuts, and pencil and eraser are great for sketching. Optional extras like fine tweezers or a lightbox can make the process easier. As you progress, you might add specialty knives or software for digital designs. These basics set you up well to dive into this detailed craft.
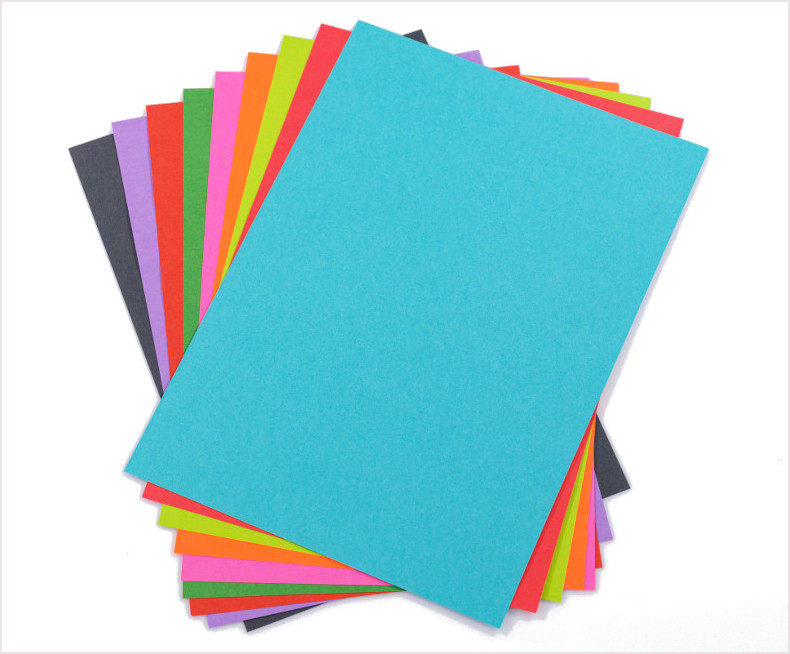
3. What type of paper is best for papercutting?
The best paper strikes a balance – it’s smooth, acid-free, and about 120-160 gsm. Thin paper tears too easily, while very thick paper is tough to cut and dulls blades faster. Many artists like Bristol board, watercolor paper, or sturdy cardstock because they cut cleanly and hold detail well. Textured papers can add interest but may be trickier to cut precisely. Beginners often choose white or solid colors to focus on technique. Traditional papers like Japanese washi or Chinese rice paper are beautiful but delicate. Ultimately, the right paper is strong enough to hold its shape without sacrificing detail.
4. Is papercutting a difficult art form to learn?
Anyone with patience can learn papercutting. Starting simple helps you build confidence and skill. The trick is mastering precision – steady hands and clean cuts take practice. Mistakes are part of the journey and help you improve. The tools are straightforward, and over time you develop control and speed. Many find papercutting calming and meditative. There are plenty of tutorials, templates, and online communities to guide you. With regular practice, what seems tricky at first becomes second nature.
5. What are the different styles of papercutting?
Papercutting comes in many styles, reflecting cultures and personal creativity. Traditional forms include Chinese jianzhi with symmetrical designs, Jewish mizrah and ketubah art for religious decoration, Mexican papel picado with colorful festive banners, and German/Swiss Scherenschnitte depicting folklore. Modern artists explore minimalist silhouettes, 3D layered works, typography, portraits, or botanical themes. Some blend papercutting with watercolor or digital art. Whether abstract, cultural, or contemporary, each style offers a unique way to express stories and ideas.
6. How do I transfer a design onto paper for cutting?
You have several options for transferring your design. Printing directly on your cutting paper works if it’s printer-friendly. Otherwise, print on regular paper and use carbon or graphite transfer paper to trace. A lightbox lets you place your design underneath the cutting sheet and trace lightly with pencil. Some artists draw freehand or use digital tools like Procreate or Illustrator to create precise templates. Keep lines clear but faint to avoid distractions in your final piece.
7. Can I use scissors instead of a craft knife for papercutting?
Scissors can work for simple, symmetrical cuts like folded snowflakes or paper dolls. But for detailed work, a craft knife is much better. It allows for sharper angles, internal cuts, and cleaner lines. Some traditional artists use tiny embroidery scissors for fine work, but most serious papercutters prefer knives for control and precision. If you’re experimenting, try both and see what suits you, but the craft knife is usually the go-to tool.
8. How can I fix mistakes in papercutting?
Mistakes happen, but you can fix some with care. Small cutouts can be glued back using acid-free glue applied on the back, often with tweezers for precision. Minor tears or slips might be trimmed or incorporated into the design. For bigger issues, patching from behind with matching paper helps. Some artists scan and digitally repair their designs, then reprint and recut. Embracing small imperfections is part of handmade charm, but careful planning and slow work help avoid errors.
9. What is the history of papercut art?
Papercutting likely began in China soon after paper was invented around 100 BCE. Early examples date to the 6th century, often symmetrical and used in festivals. The art spread through trade routes, influencing the Middle East and Europe. Jewish papercuts decorated religious texts, while German and Swiss Scherenschnitte emerged in the 16th century folk traditions. Mexican papel picado became a festive staple. Each culture made papercutting their own, turning it into a rich, global art form.

10. What is the difference between papercutting and kirigami?
Both papercutting and kirigami involve cutting paper, but kirigami adds folding to the mix. Papercutting removes sections to create flat designs, focusing on negative space and intricate patterns. Kirigami, a Japanese art, uses cuts and folds to make pop-up or 3D structures that stand up or have architectural form. So while papercut art is usually flat or layered, kirigami is sculptural and dimensional thanks to its folding element.
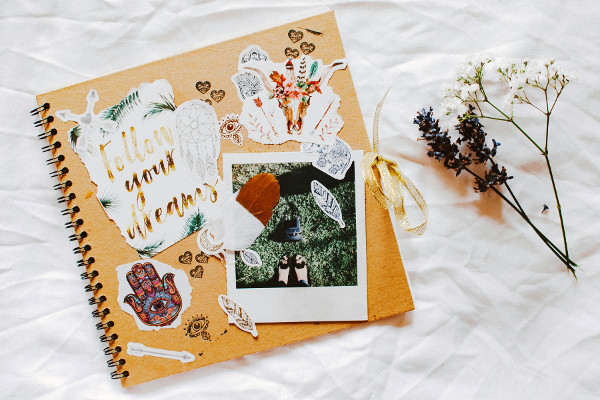
11. How do I display or frame papercut art?
To show off papercut art and protect it, framing it “floating” between glass or clear acrylic is stunning. This lets shadows play and highlights the delicate cuts. Mounting the piece on colored or textured backgrounds with acid-free adhesive adds contrast. Shadow boxes work well for layered or 3D pieces. Use UV-protective glass to keep colors from fading and avoid direct sunlight. For storage, keep pieces flat in portfolios with tissue paper. The right framing preserves the art and makes its details pop.
12. Can papercut art be used for commercial purposes?
Yes! Many artists turn papercutting into a business, creating wedding invites, cards, book covers, logos, home décor, and more. They sell originals, prints, or digital templates. Just make sure you own your designs or have proper licenses if using others’ templates. High-res scans or vector files are often needed for printing or cutting machines. Etsy, Instagram, and personal websites are popular platforms for sales. It takes work but can be a fulfilling creative career.
13. What are some common themes in papercut designs?
Papercut art draws from themes close to the heart: nature, tradition, and stories. Flowers, trees, birds, animals, and flowing botanical patterns are common. Symmetry often shows up in mandalas, snowflakes, and geometric shapes. Scenes from daily life, fairy tales, or folklore appear especially in European styles. Some artists carve quotes or names in beautiful lettering, while others explore portraits, abstract forms, or surreal ideas. Cultural motifs shine through – like dragons in Chinese cuts or skeletons in Mexican papel picado. The themes are endless and personal.
14. How do I create layered or 3D papercut art?
Layered papercutting is like telling a story one sheet at a time. Each layer shows part of the design, and when stacked with spacers like foam tape or cardboard, you get a mesmerizing 3D effect. Plan your layers carefully, cut each one precisely, and consider using different colors for contrast. Assemble the layers in order and mount them, often in shadow boxes. Lighting can bring out the depth and shadows. It takes patience and planning, but the result is a dynamic, captivating piece.
15. How can I use papercut patterns or digital papercutting templates?
Using templates helps get clean, consistent designs, especially when you’re learning. They come in PDF, PNG, or SVG formats you can print or trace with a lightbox. Cutting machines like Cricut or Silhouette work best with SVG files, automating intricate cuts. Whether hand-cutting or using machines, templates guide your process. You can follow them exactly or customize to make your own. Just check licensing if you plan to sell your work. Templates are tools that boost your confidence and precision without limiting creativity.
16. Where can I find inspiration or tutorials for papercutting?
Inspiration is everywhere online. Pinterest and Instagram overflow with stunning designs and process videos. YouTube offers step-by-step tutorials. For structured learning, check out Skillshare or Domestika courses. Books like Papercut by Owen Gildersleeve or Creative Paper Cutting by Cheong-ah Hwang are full of ideas. Etsy and other marketplaces have templates and patterns. Museums showcasing folk art can spark creativity too. Check out Lia Griffith's website for interesting project ideas, like this woodland mushroom scene. The above mentioned Domestika has a showcase of 12 papercut artists that will definitely give you some artistic inspiration. Online communities on Reddit and Facebook are great for advice and support. No matter your level, there’s always more to discover.
Good luck with your adventures in papercut art.